Dr. Nicola Mingotti has created a highly useful video tutorial, “The Squeak Smalltalk Help System”, where he demonstrates how to use and implement the Squeak Help System in your projects. In the video, Dr. Mingotti walks you through a step-by-step guide on creating documentation for your code, providing valuable insights into integrating the help system into your workflow. You can check out his video here.
Additionally, Dr. Mingotti offers supporting materials in his Swiki article here, which includes code snippets and further comments to aid your understanding.
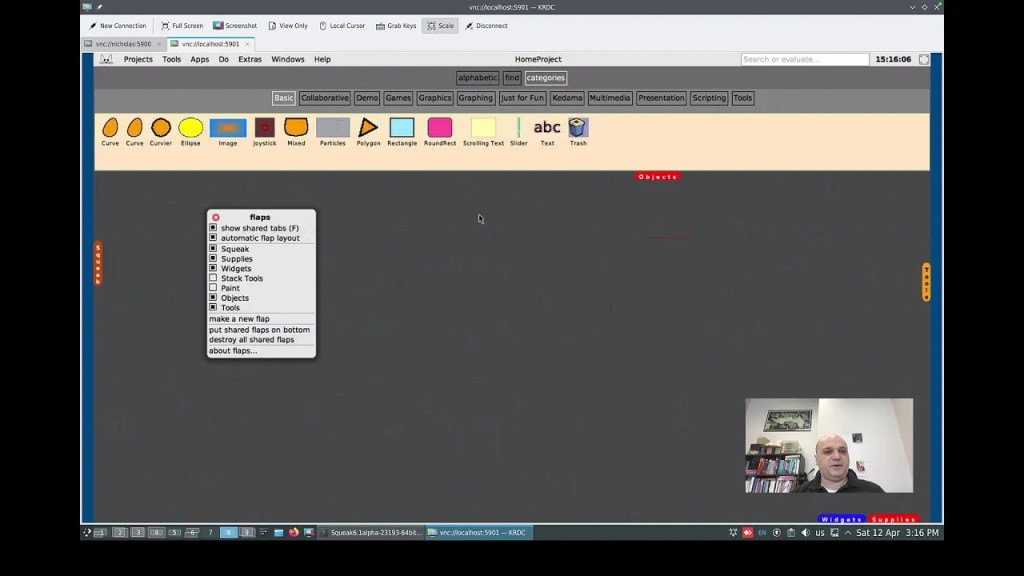
Overview of the Squeak Help System
One of the many great features of Squeak is its rich set of help documentation. The default Squeak image comes with valuable documentation that covers topics such as: How to Use Squeak, How to Contribute to Squeak, Tutorials, The Terse Guide to Squeak, and Using WebClient and WebServer. This documentation is easily searchable, making it a highly useful resource for your projects.
Help System vs. Code Comments
It is important to note that the Squeak Help System is not intended to replace code comments. Squeak/Smalltalk provides excellent functionality for adding comments directly in your code, and these should remain the primary way to document code behavior, logic, and functionality. The Help System is designed for documentation outside the scope of code comments, such as explaining overall project goals, providing tutorials, or offering guidance on using tools and features in your project.
Features of the Help System
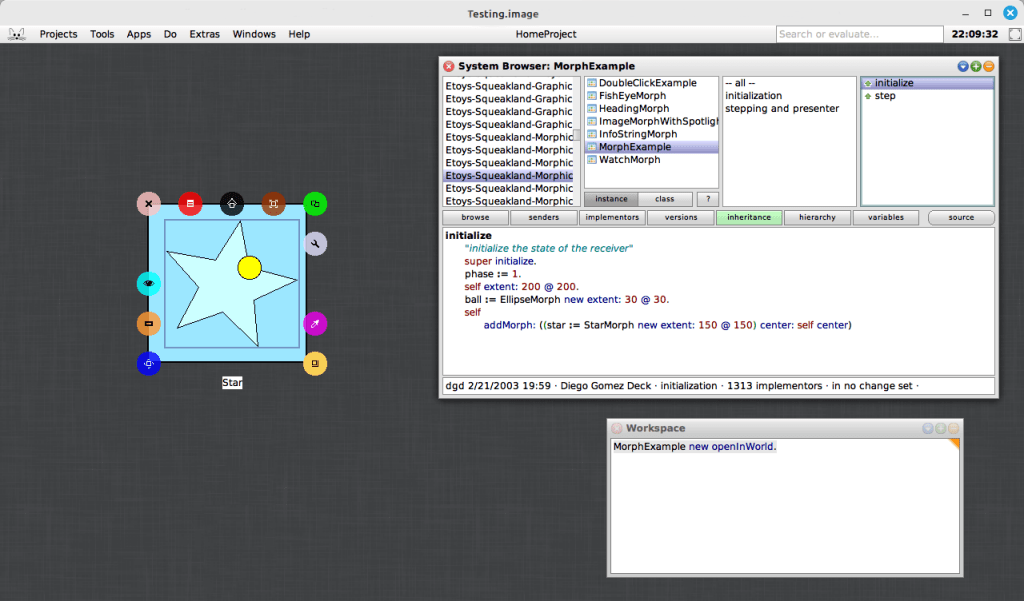
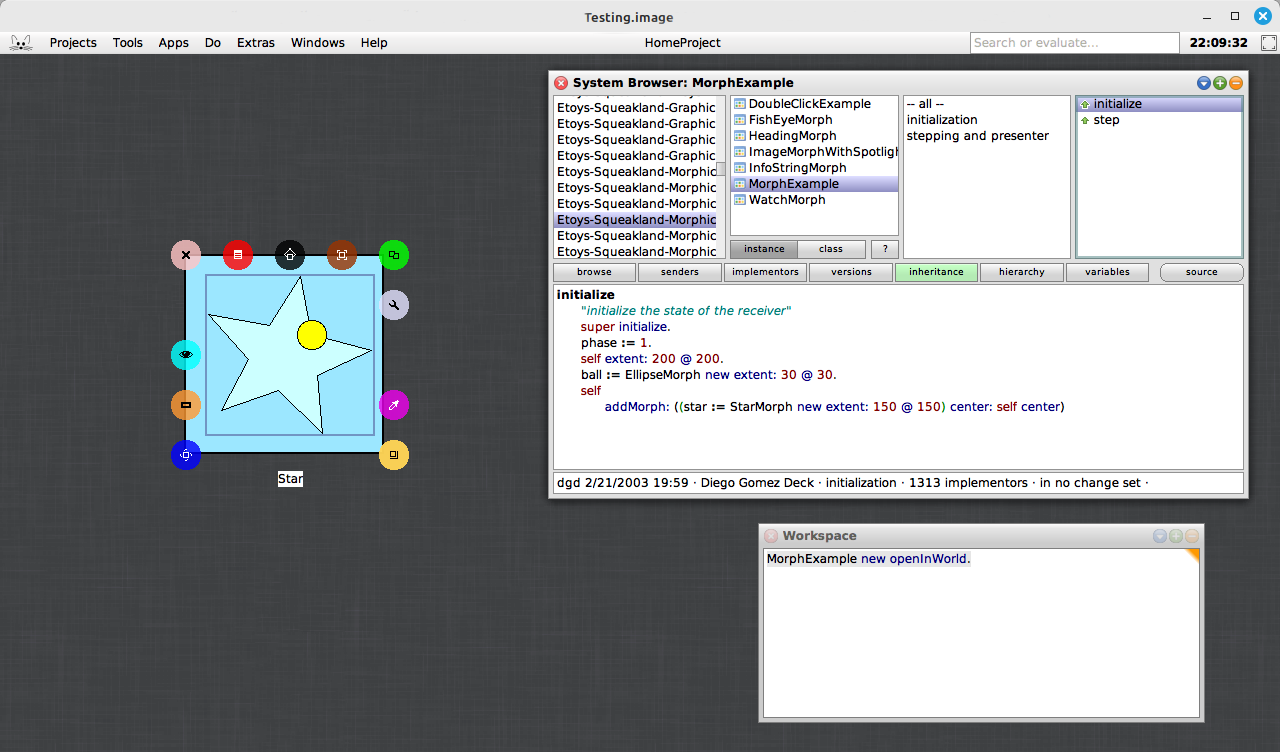
The help documentation system offers a variety of features, including text styling (bold, italics, strikethrough, underline), code formatting and syntax highlighting, and URLs, to name a few.
Additionally, you can add images to your documentation. This feature is currently available in the Trunk image, but you can implement it in other images as well by using its code as a reference. For the 6.0 image, you can perform a fileout of the SqueakHelpTextImage class from the Trunk image and then filein it into the 6.0 image. Alternatively, you can create your own code to implement this functionality! Thanks to Christoph Thiede for providing guidance on how he implemented this feature. You can find his post here.
How to Insert an Image into Your Help Page
- Open a Workspace window.
- In the Workspace, perform a “do it” on the following code:
Clipboard clipboardText: Character startOfHeader asString.
- In your help page window, move your cursor to the location where you want to insert the image. Paste the clipboard contents (Ctrl+v or Cmd+v on Mac). At this point, you won’t see anything yet.
- (Optional) Skip this step if you prefer typing the code manually. Copy the following code, replacing
/path/to/file/image.png with the actual path and filename of your image:
SqueakHelpTextImage forForm: (ImageReadWriter formFromFileNamed: '/path/to/file/image.png')
- Return to your help page window and move your cursor to the same location where you want to insert the image. Press Alt+5 (or Cmd+5 on Mac), then select “Custom attribute…” from the bottom of the list.
- When the Input Requested box appears, paste the image code from Step 4 (or manually type it in) into the field labeled “Enter expression for text attribute:”. You should now see a shaded outline where the image will appear.
- Save your changes by pressing Ctrl+s (or Cmd+s on Mac).
Your image is now successfully inserted into your help document!
Conclusion
A big thank you to Dr. Nicola Mingotti for his helpful video tutorial on using the Squeak Help System, which offers a step-by-step guide for integrating the help system into your workflow. His Swiki article is also a helpful resource with code snippets and additional comments. Be sure to check out his materials to further enhance your understanding of Squeak and the Help System!
Have a great time with Smalltalk and keep on Squeaking!